Customising contact cards
If you want to remove or add fields, or edit the
field labels of the currently opened contact card,
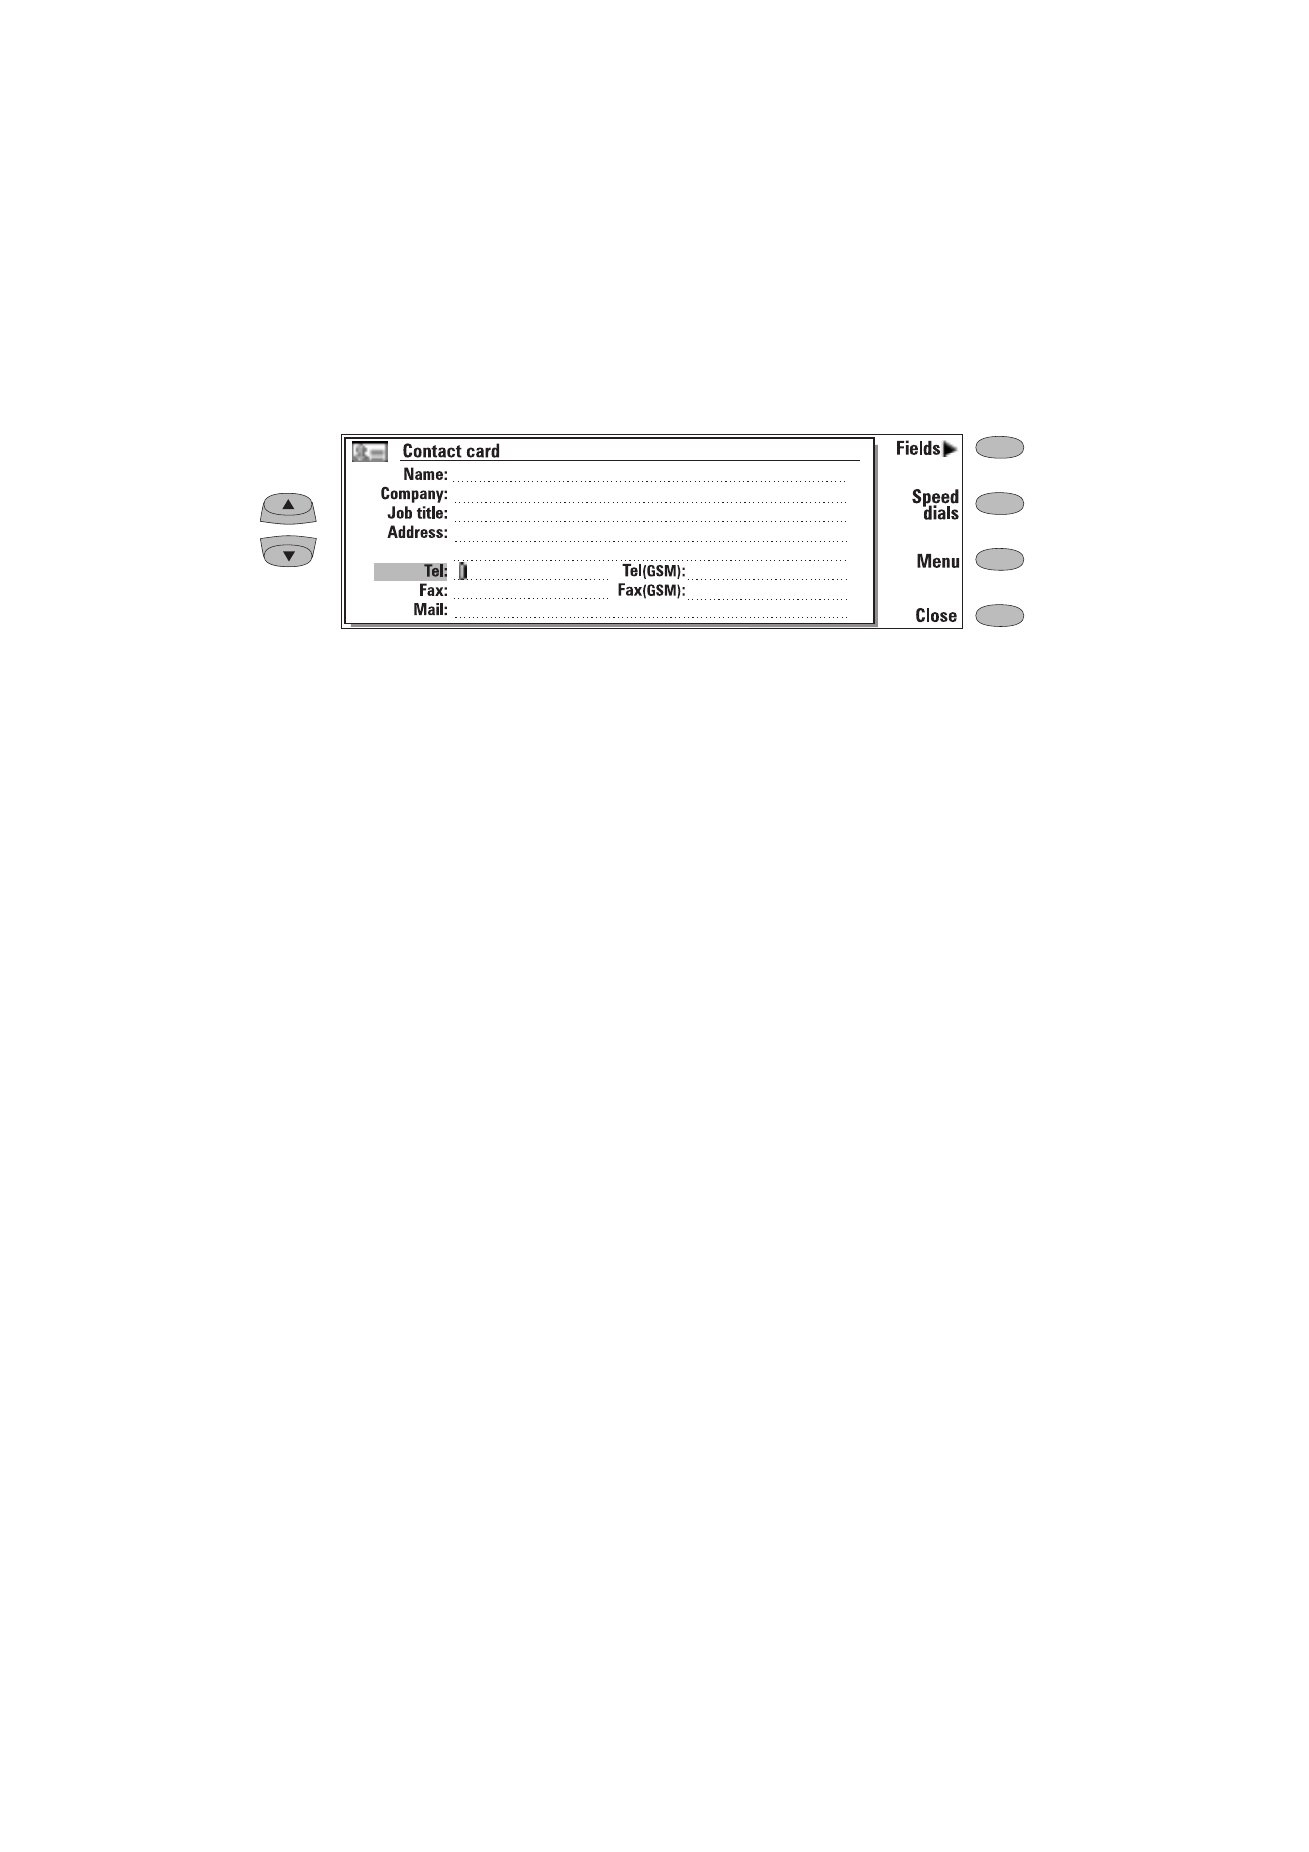
press Fields in the contact card view (see figure 3-
1). If you want to modify the field settings of all
future contact cards, you must edit the contact
card template, see ”Contact cards” on page 3-1.
To add new fields to the contact card:
1
Press Add field. A pop-up box opens, listing
the available fields.
2
Select a field and press OK. There can only be
one Name, Job title, Company and Note field.
Note: The Tel/Fax field is for alternating calls (see
chapter 4 "Telephone: Managing calls - Al-
ternating calls" on page 4-5). The Password
field is for the booking password (see chap-
ter 9 "Calendar: Calendar booking - Book-
ing password" on page 9-4).
To customise the label of the selected field:
1
Select the field and press Change label.
2
Select one of the predefined labels or scroll
down to the field with a dotted line and write
the label text, e.g., Cottage or Modem, and
press OK.
To delete the currently selected field:
Press Delete field. The Name field cannot be
deleted.
Note: You can only send short messages to mo-
bile phone numbers stored in the Tel(GSM)
or Tel(PCN) fields.
If you press Menu in an opened contact card, the
following commands become available:
Copy card — Creates a copy of the current card.
Copy contents — Copies the contents of the
card to a clipboard. You can add this informa-
tion to faxes, notes and other documents by
pressing Ctrl-V.
Delete card — Deletes the opened card.
Next card and Previous card — Opens the next
and the previous card in the list respectively.
Copy to hotlist — Copies the URL field of the
contact card to the WWW hotlist (see chapter
7 "Internet: Hotlist" on page 7-12).